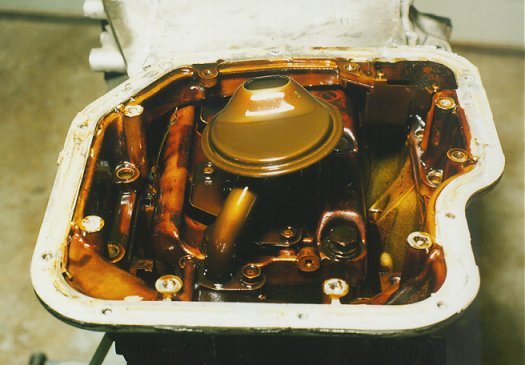
Start the process with removal of the lower oil
pan. Once you have the bolts off, you still have to remove the pan.
The pan is sealed with silicone so it does not separate on its own.
Nissan recommends a special tool to do this. We found a heavy
duty paint scraper with about the right thickness and edge shape.
In addition, it was about the right width. It worked for us.
We found a spot where we could slide the blade safely between the lower
pan and the upper pan. OK, it didn't exactly slide in. It needed
a little convincing, but it was in a spot where we could do this safely.
One of the advantages of the paint scraper we used was the fact that the
handle was oriented 90 degrees from the blade. All it took to separate
the lower pan from the upper pan was a tug on the handle. One down,
one to go.

Before we can remove the upper pan, we have to remove the baffle plate and all of the upper pan bolts. Now we get to remove the upper pan. The best way to do this is to use two engine to transaxle bolts, threaded into two holes in the upper pan that are expressly for this purpose. We didn't have those bolts available to us at the time. So... we did it the wrong way. We used a screwdriver. At this point, let us say again that this is not recommended by Nissan. We found a place where we could get a screwdriver between the upper pan and the block that in no way touched a sealing surface (see photo). We simply used a little leverage and the upper pan was free. We would not do this again.
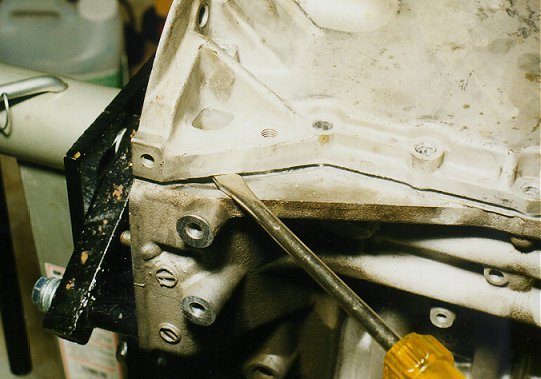
Whatever you do, never, never do anything that may possibly mar a sealing surface. At best, you might have to buy a new upper pan. At worst, you could ruin an otherwise perfectly good block. We also had absolutely no luck with using the paint scraper to separate the upper pan from the block. Bottom line here is: don't mar the sealing surfaces, and get the proper size bolts to separate the upper pan from the block.

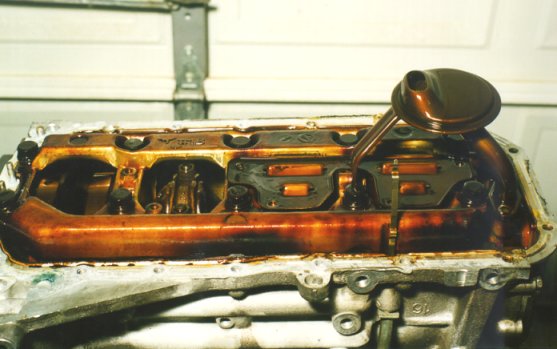
Remove the oil strainer. Now it's time to remove the main bearing beam, otherwise know as the girdle. Here again, the factory service manual (FSM) says to loosen the bolts in two or three steps. We would have to say do this in three or four steps at least. Just like removing the head bolts, the first step was more heard than felt. Be sure you loosen the bolts in the proper sequence. These bolts are really on there hard. Take your time and do this slowly. Relax. This project is going to take a long time to finish anyway. The extra 2 minutes to do this right isn't going to make a difference in your overall time spent on this project.
The engine we bought did not have the crankshaft
pulley. If your engine has one, remove it at this time. Next,
remove the front cover and rear oil seal retainer. After removing
the timing chain guides, remove the timing chain. Remove the nuts
on the connecting rod caps and remove the caps. Now you must remove
the main bearing caps. The bearing caps are wedged in pretty tight.
We used a section of 2x4 and a hammer to remove the bearing caps.
The FSM gives no hints on removing the bearing caps.
Our method is neither endorsed by Nissan,
or by us. It is what worked for us.
You should be careful. We certainly were. Our
method was to place the end of a section of 2x4 against the bearing cap
and gave the other end a sharp rap with a hammer. It took us about
4-6 raps, alternating sides, to free up the bearing caps so that we could
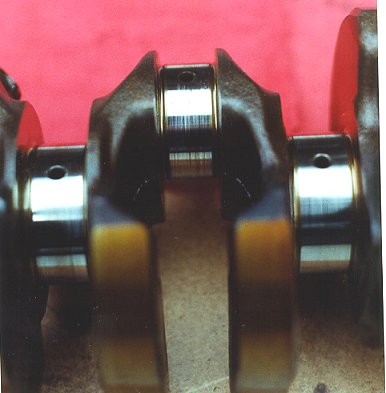
lift them from the block. Remove the bearings and lift out the crank.


Carefully push the pistons out of the cylinders through the top of the block. Remove the water pump and clean the sealing surfaces of pieces of gasketing material.


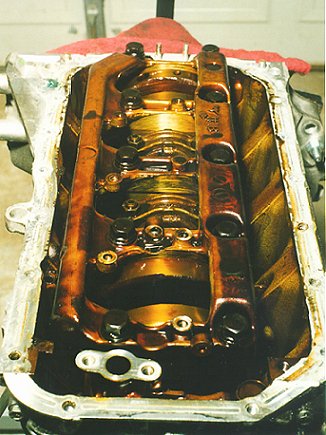
And there you have it.... a fully gutted Beast.
An interesting thing we noticed is that with 118,000
miles, we could still see the cross-hatching in the cylinders from
the factory honing! Now that's quality.

Check back soon for the next installment.
Copyright George D. Roffe 1998